
Pick the right modern cabinet pulls
Choosing the correct hardware is the first step in a successful installation. The wrong pull can make cabinetry feel cramped, while the right one enhances both function and style. Modern cabinet pulls vary widely in finish, shape, and size, so narrowing your options early ensures a cohesive look.
Assess your cabinet style first. Sleek, minimal handles suit flat-panel or slab doors, while substantial pulls complement shaker or traditional styles. Consider the finish: brushed nickel and matte black offer durability and hide fingerprints, whereas polished brass adds warmth to contemporary spaces.
Size matters as much as design. Pull length should be proportional to the door or drawer width. A general rule is to place holes two to three inches from the corner, leaving enough space for a comfortable grip. Too small a pull looks lost; too large overwhelms the surface.
| Pull Length | Best Use Case | Visual Impact |
|---|---|---|
| 3–4 inches | Small drawers, upper cabinets | Subtle, understated |
| 5–8 inches | Standard drawers, lower cabinets | Balanced, functional |
| 9–12+ inches | Wide drawers, tall cabinets | Bold, statement-making |
To help you visualize these options, here are three highly rated modern cabinet pulls in different finishes that fit various aesthetic goals.
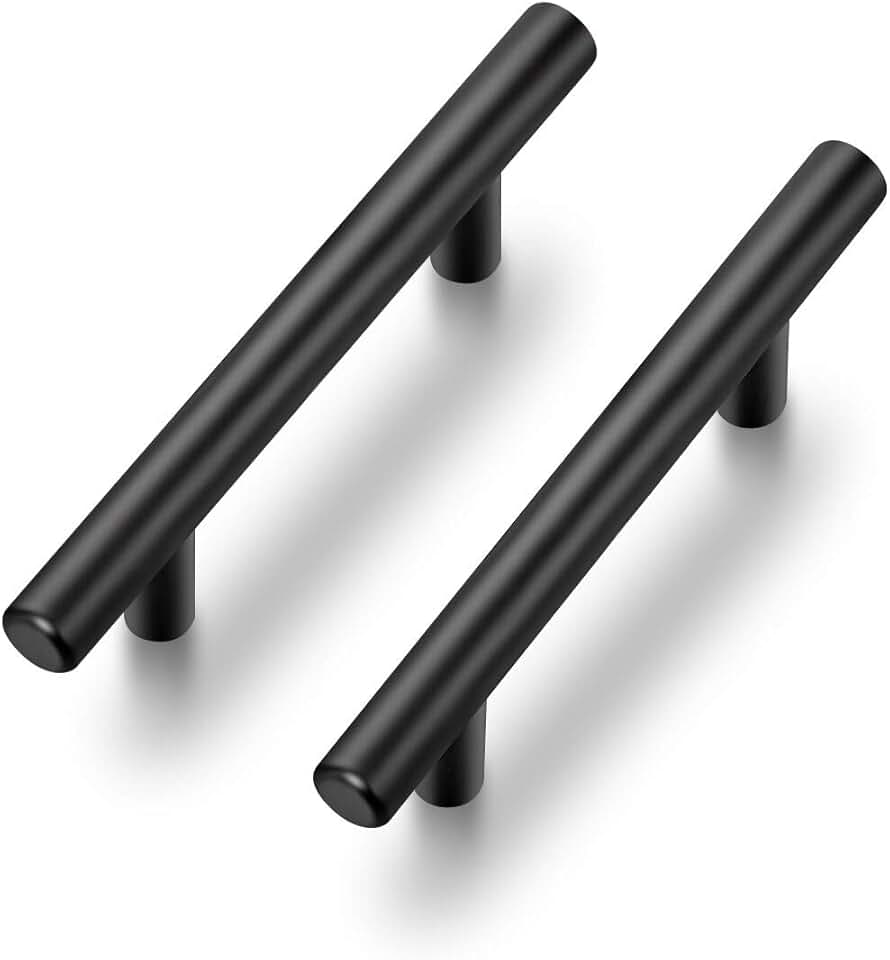


As an Amazon Associate, we may earn from qualifying purchases.
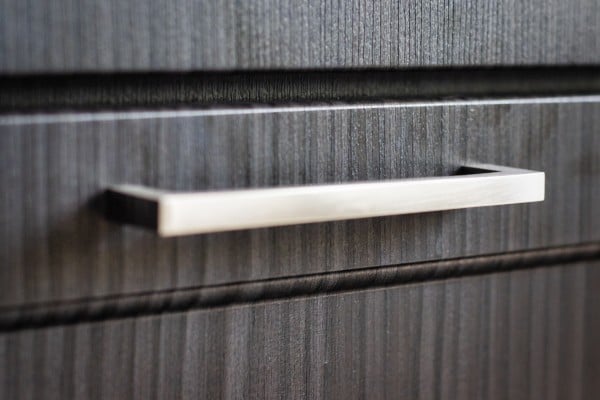
Gather tools and measure spacing
Assemble the necessary tools and verify hardware dimensions before installation. Precision at this stage prevents misalignment and ensures new handles sit flush against the cabinet face.
You need a tape measure, a pencil, a drill with bits matching your screw length, and a screwdriver or drill driver. A level helps keep pulls straight, while masking tape prevents wood splintering if you drill new holes. If existing holes align with your new pulls, you can skip drilling.
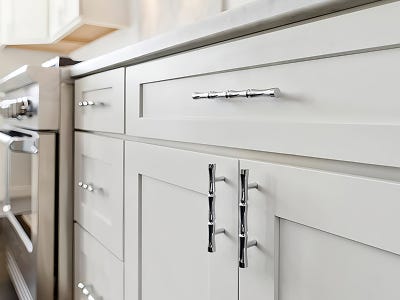
The most critical measurement is the center-to-center distance, or "backset." This is the distance between the centers of the two mounting holes. Common sizes include 3-inch, 5-inch, 96mm, and 128mm. If your new pulls have a different backset than existing holes, you will need to fill the old holes and drill new ones.
Check the packaging to confirm the backset. If buying online, dimensions are usually in the product specifications. If replacing existing hardware, measure the old pulls to ensure an exact match. This step saves time and avoids the hassle of filling and patching old holes later.
Mark and drill new holes
Installing modern cabinet pulls requires precision because long, sleek profiles reveal even slight misalignments. A clean, minimalistic look characterizes modern kitchen drawer pulls, making accurate placement essential. Before committing to drilling, verify your spacing and create pilot holes to prevent wood splitting.
1. Verify pull spacing and center points
Modern pulls come in various sizes, but the distance between screw holes (backset) is usually standardized. Common sizes include 3-inch, 96mm, and 128mm. Use a tape measure to find the exact center of your cabinet door or drawer front. Mark this center point lightly with a pencil. Then, measure outward from the center to match the backset of your new pull. Mark these two points clearly. Double-check your measurements before proceeding; it is easier to erase a pencil line than to fix a misplaced hole.
2. Create pilot holes
Drilling directly into the final hole size can cause the wood to split, especially near the edges. Use a drill bit slightly smaller than the diameter of your pull’s mounting screws. This creates a pilot hole that guides the screw and reduces the risk of cracking the material. Hold the drill perpendicular to the surface to ensure the screw sits straight. If installing on a drawer front, be careful not to drill too deep and hit the drawer bottom or internal mechanisms.
3. Check alignment and drill final holes
Before fully drilling through, hold the new cabinet pulls in place over the pilot holes to verify alignment. Ensure the pull sits flat against the surface and that the orientation matches your design intent. Once confirmed, drill through the pilot holes using a bit that matches the screw size for a snug fit. If using a drill press, secure the cabinet piece to prevent movement. For handheld drills, use steady, moderate pressure to keep the hole clean and round.
Find the center of the cabinet door or drawer front. Measure outward to match the pull’s backset and mark the two screw locations. Double-check measurements to ensure symmetry.
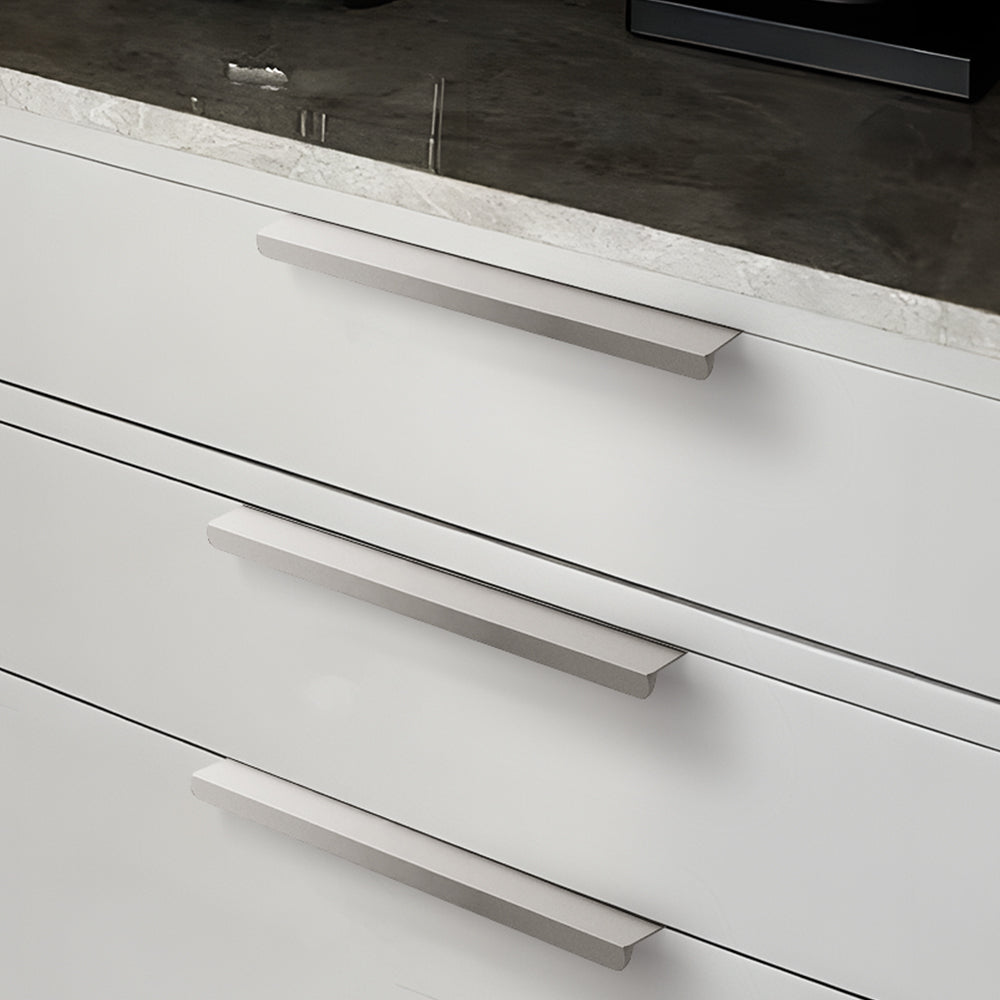
Use a drill bit slightly smaller than the screw diameter. Drill perpendicular to the surface to create guide holes. This prevents wood splitting, especially on edges.
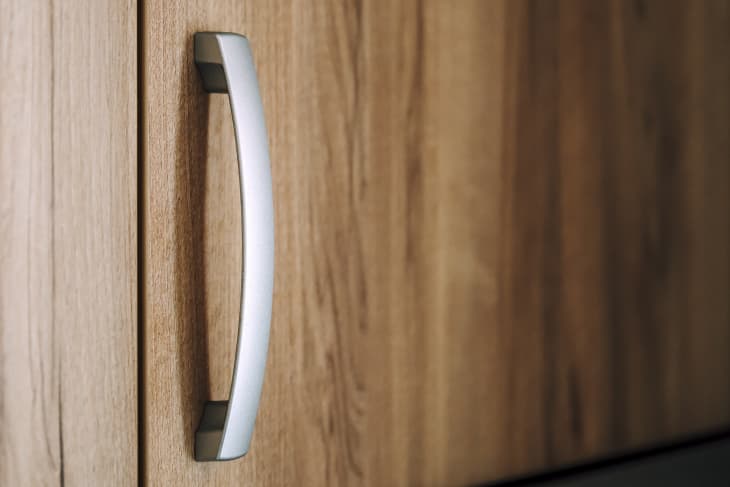
Place the pull over the pilot holes to verify alignment. Once satisfied, drill through to the final size. Keep the drill steady to ensure straight, clean holes.
Attach the hardware securely
With pilot holes drilled and the template removed, install the modern cabinet pulls. Precision matters here: a loose pull feels cheap and wobbles, while over-tightening can strip threads or crack the cabinet material. The goal is a firm, flush connection that looks clean and functions smoothly.
Insert the screws
Start by inserting mounting screws through the back of the pull’s base plate. If your hardware uses standoffs or separate threaded inserts, attach those first according to the manufacturer’s instructions. For standard modern pulls, screws usually come pre-attached to the base, but double-check that they are seated straight. Misaligned screws will cross-thread when you try to engage them with the cabinet holes, damaging the wood or metal finish.
Hold the pull against the cabinet door or drawer front, aligning the screw holes with your pilot holes. It helps to have a helper hold the pull in place while you start the screws by hand. Starting screws manually ensures they go in straight. Forcing them with a drill immediately risks misalignment, leading to gaps between the pull base and the cabinet surface.
Tighten without overdoing it
Once screws are started by hand, use a screwdriver to tighten them. For most modern cabinet pulls, a manual screwdriver provides better control than a power drill. Tighten until the pull is snug and the base sits flat. Stop as soon as you feel resistance. Over-tightening is a common mistake that can strip threads in softwood cabinets or crack the material around the hole.
If installing on softwood like pine, be especially careful. These materials split easily if screws are driven too tightly. If you encounter significant resistance before the pull is flush, back the screw out slightly and check alignment. If the screw spins freely without tightening, the pilot hole may be too large, or the threads stripped. Fill the hole with wood filler or a toothpick and glue, then re-drill a smaller pilot hole.
Check for alignment and stability
After tightening, check each pull for stability. Give it a gentle tug to ensure it does not wobble. If loose, tighten the screws a quarter-turn more. If the base is not sitting flush, loosen the screws slightly and adjust the position. Once all pulls are installed, open and close the doors and drawers to ensure smooth operation. The modern aesthetic of your hardware should be complemented by its solid, secure installation.
Check alignment and finish
Once screws are snug, step back and look at the installation from eye level. Modern cabinet pulls rely on clean lines and precise spacing. A single pull that sits even a millimeter off-level can disrupt the visual rhythm of the entire kitchen or bathroom. Use a small bubble level against the top or side of the pull to verify alignment. If tilted, loosen the screws slightly, adjust the hardware, and retighten. Do not overtighten at this stage, as this can strip the holes or warp the cabinet face.
After confirming every pull is level and securely attached, perform a final quality check. Run your fingers along the edges to ensure no sharp burrs or protruding screw heads catch on clothing. Inspect the cabinet surface for scratches or dents caused by the drill or screwdriver. Touch up any marks with a matching wood marker or touch-up paint.
The last step is a quick cleanup. Use a soft, dry cloth to wipe away dust, wood shavings, or fingerprints left on the new hardware. This removes drilling residue and ensures the finish looks pristine. Your modern cabinet pulls are now ready for daily use.
Avoid these common installation mistakes
Even with precise measurements, small errors during installation can ruin the clean lines you worked to achieve. The most frequent culprit is incorrect hole spacing. Modern pulls often have center-to-center measurements that vary slightly from standard hardware. If you drill the first hole correctly but the second is off by even a millimeter, the pull will not sit flush, leaving unsightly gaps or stripping screw threads. Always double-check your template against the actual pull before committing to the wood.
Over-tightening screws is another easy trap. It is tempting to crank the screwdriver until the hardware feels immovable, but this can warp the cabinet frame or crack the finish, especially on hollow-core doors. Tighten screws just until the pull is secure and stable. If screws are too short and do not engage the frame properly, switch to longer screws rather than forcing the installation. A snug fit is sufficient for daily use.
No comments yet. Be the first to share your thoughts!