
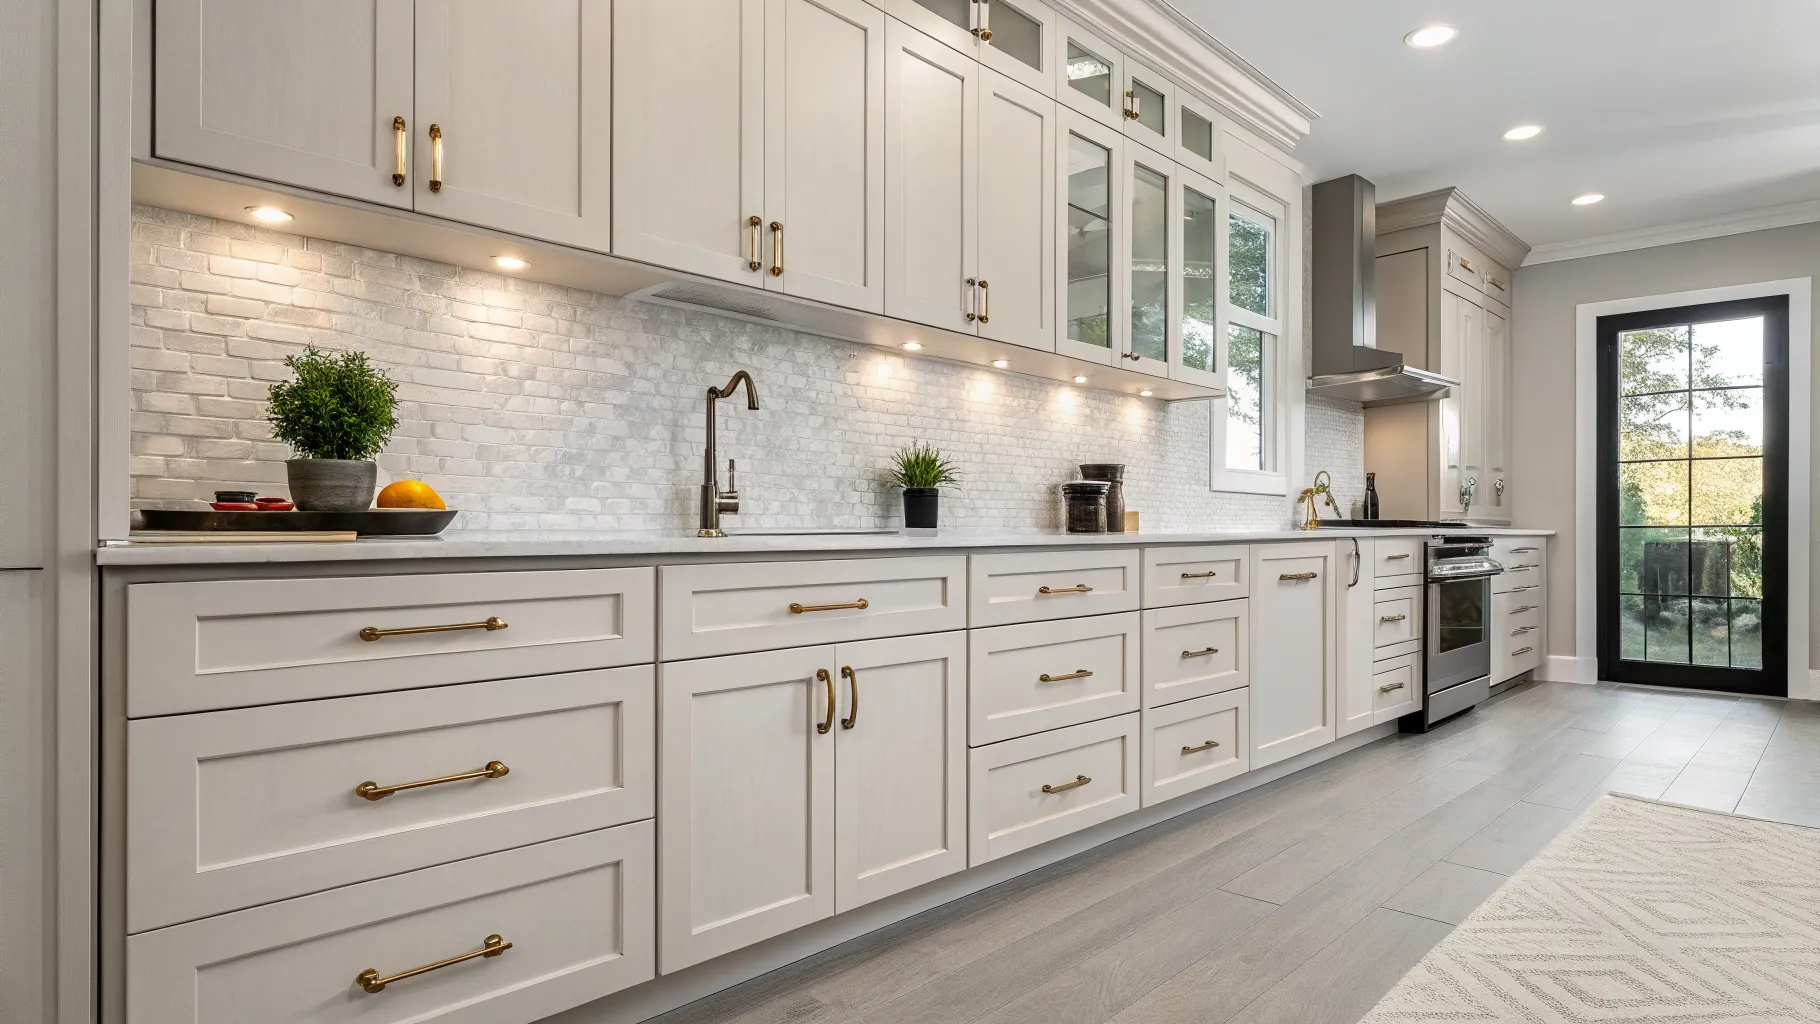
The appeal of black hardware
Let's face it: black cabinet handles are everywhere right now. But this isn’t just a fleeting trend. Black hardware offers a design impact that few other finishes can match. It’s a surprisingly versatile choice, working beautifully with everything from crisp white cabinets to warm wood tones, and even darker cabinetry for a more dramatic look.
The beauty of black is its ability to ground a space. It provides a strong visual contrast, drawing the eye and adding a touch of sophistication. Different black finishes – matte, satin, and gloss – create very different aesthetics. Matte black is modern and understated, satin offers a subtle sheen, and gloss provides a more polished, traditional feel.
Upgrading cabinet hardware is one of the most cost-effective ways to refresh a kitchen or bathroom. It's a relatively small investment that delivers a significant return in terms of style. We’ll be drawing on resources from The Knob Shop, DLawless Hardware, and Amazon to provide a comprehensive guide to choosing and installing your new black cabinet handles.

Required tools
You don’t need a fully equipped workshop to tackle this project. Many people assume they'll need a ton of specialized tools, but that’s simply not true. The essentials are a screwdriver (most likely Phillips head – check your existing screws first!), a measuring tape, and a pencil.
A drill with a countersink bit can be helpful if you’re drilling new holes, but it’s not always necessary. If you're simply replacing existing handles, you can likely skip the drill altogether. A magnetic parts tray is a small investment that will save you a lot of frustration by preventing lost screws. Don't underestimate the power of painter’s tape to protect your cabinet finish from scratches.
Keeping the tool list short makes the job faster. Most of the work is just steadying the screwdriver so you don't slip and scratch the paint.
- Screwdriver (Phillips head)
- Measuring Tape
- Pencil
- Drill with a 3/16-inch bit (if making new holes)
- Magnetic Parts Tray
- Painter's Tape
Measuring for a proper fit
Accurate measurements are absolutely critical. The most common mistake people make is assuming their new handles will fit without verifying the hole spacing. This is measured center-to-center – meaning from the middle of one hole to the middle of the other. If you're replacing handles, matching this measurement is non-negotiable.
If you're drilling new holes, consider both aesthetics and functionality. Think about how the handle length will look on your cabinets and how easily you'll be able to grip it. Standard hole spacings are typically 3”, 5”, 6”, and 8”, but variations exist. When planning new hole locations, ensure there's sufficient space inside the cabinet for the handle to operate without obstruction.
What if your new handles don't match the existing hole spacing? You have a few options. You can use wood filler to fill the old holes and re-drill new ones. This is the most labor-intensive but provides the cleanest look. Alternatively, you might find handles with a wider mounting base to cover the existing holes, but this limits your style choices. It’s better to plan ahead and choose handles that fit your existing configuration whenever possible.
Removing old hardware
Removing the old hardware is usually a simple process. Locate the screws holding the handles in place and unscrew them. Sometimes, these screws are hidden behind small decorative caps or covers – gently pry these off to reveal the screws.
Avoid forcing anything. If a screw is stuck, apply a penetrating oil like WD-40 and let it sit for 15-20 minutes before attempting to remove it again. Be careful not to strip the screw heads – use a screwdriver that fits snugly and apply even pressure. Keeping the old hardware is a good idea; you might be able to reuse it later, or it can serve as a handy template for marking new hole locations.
Installing the new handles
With the old hardware removed, you’re ready to install your new black cabinet handles. First, align the new handle with the holes. Ensure it’s centered and level before proceeding. Then, insert the screws from the inside of the cabinet. This is the most common method, but some handles may have different mounting configurations.
Now, tighten the screws. This is where you need to be careful. Do not overtighten! Overtightening can strip the screw holes in the cabinet, making it difficult to secure the handle properly. It can also damage the cabinet itself. Tighten the screws until they are snug, but no further.
If the screws are too long, they won't tighten all the way. You can add a small washer inside the cabinet or buy shorter screws. If you are drilling new holes, use a pilot bit first to keep the wood from splitting. I usually keep a few different screw lengths nearby because cabinet door thickness varies.
Double-check that the handle is straight using a level. If it’s slightly off, loosen the screws and adjust the position before tightening again. Repeat this process for all remaining handles, taking your time to ensure each one is properly aligned and secured.
Finally, give each handle a gentle tug to confirm it’s securely attached. A little attention to detail now will save you headaches later. Remember, the goal is a clean, professional look.
Fixing common installation problems
Sometimes, things don't go according to plan. Stripped screw holes are a common problem. To fix these, insert wood glue and a few toothpicks into the hole, break them off flush with the surface, and let the glue dry. Once dry, you can re-drill a pilot hole and install the screw. Wood filler is another option, but it requires longer drying and sanding times.
If the handles are slightly misaligned after installation, you might be able to carefully enlarge the holes using a drill bit slightly larger than the screw diameter. Proceed with caution, as this can weaken the cabinet structure. For damaged cabinet finish, touch-up paint or furniture polish can help conceal minor scratches and blemishes.
Looking at Amazon reviews for black cabinet hardware, a frequent complaint is about screw quality and finish imperfections. This highlights the importance of inspecting the hardware upon arrival and contacting the seller if you encounter any issues. Don't attempt to force a damaged screw into a hole – it's better to replace it.
Maintenance and cleaning
Black finishes, while stylish, can show fingerprints and smudges more easily than other finishes. Regular cleaning is key to keeping them looking their best. A simple solution of mild soap and water is usually sufficient. Avoid abrasive cleaners, as these can scratch or dull the finish.
Different black finishes require slightly different care. Matte black tends to show fingerprints more readily and may benefit from occasional application of a protective coating. Satin black is more forgiving, while gloss black is the most durable and easiest to clean. The Knob Shop generally recommends wiping down black hardware weekly with a soft cloth.
No comments yet. Be the first to share your thoughts!