
Modern pull styles for 2026
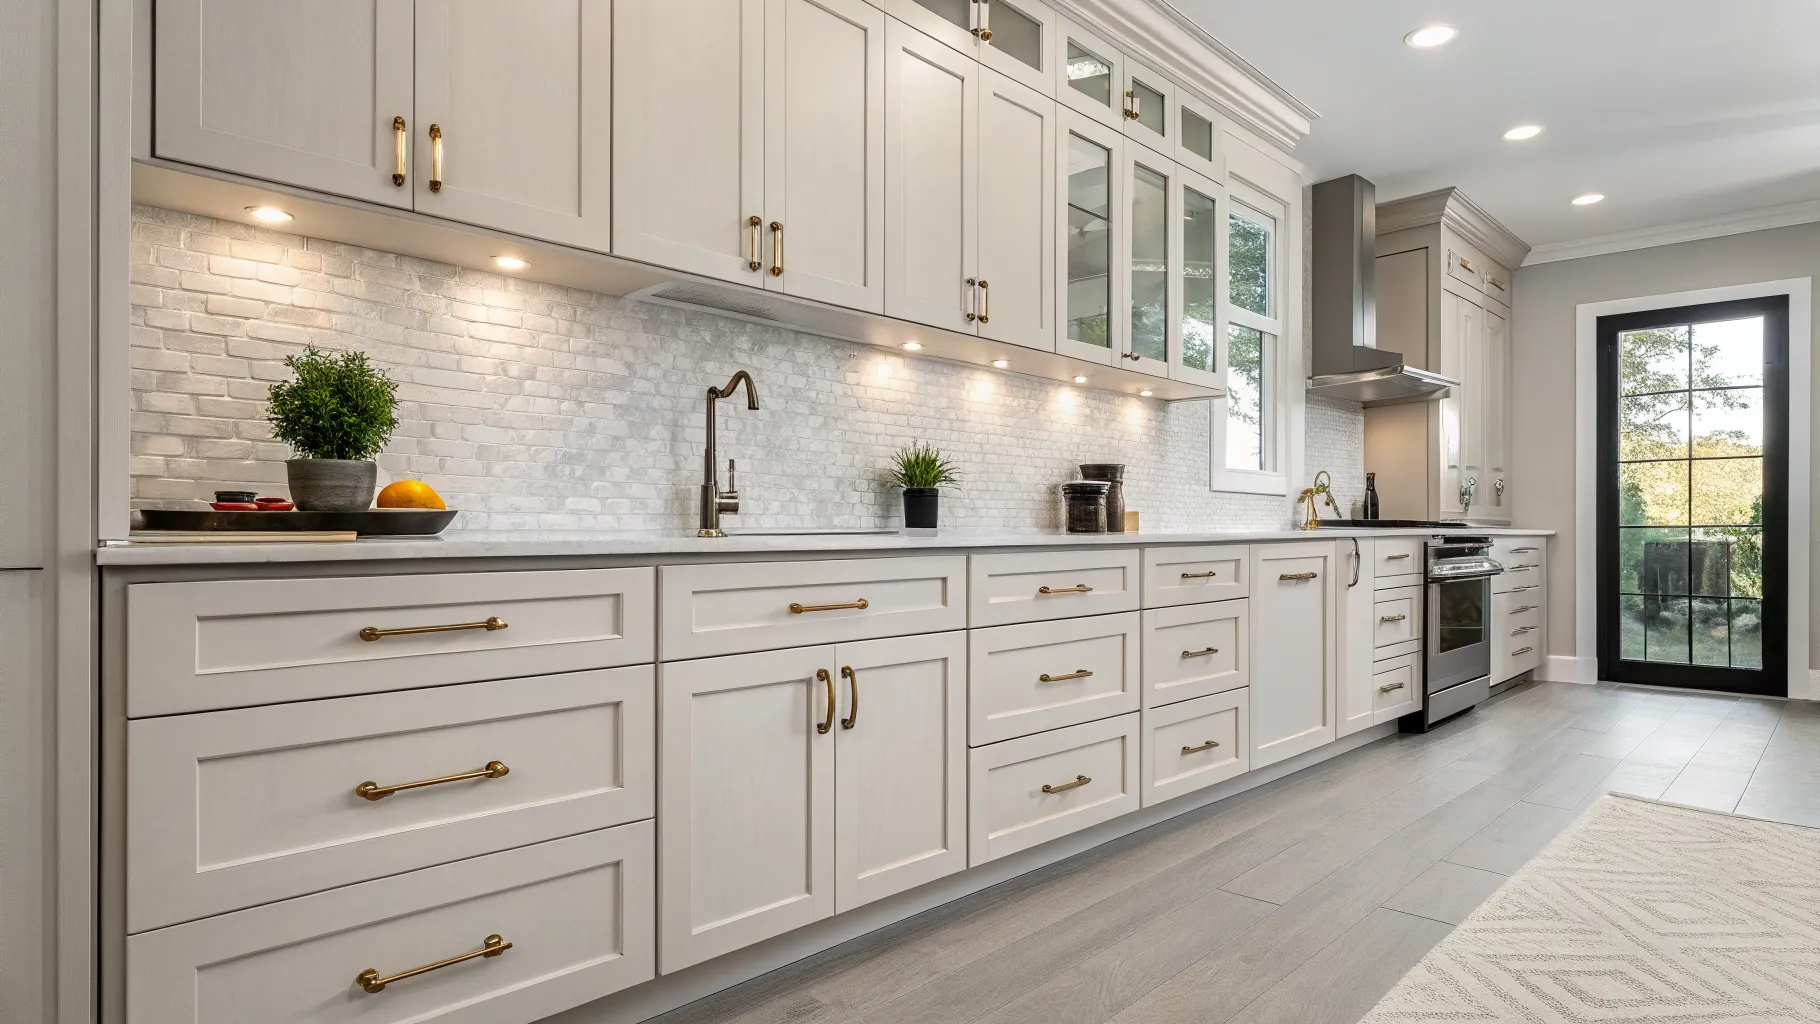
Hardware is the easiest way to change a kitchen's look without a full renovation. In 2026, the trend is moving toward minimalist designs that favor function over ornament. I prefer these cleaner lines because they don't catch on your clothes or collect dust as easily as the ornate styles from a decade ago.
Material choices are leaning heavily into matte black, brushed brass, and stainless steel. Matte black offers a sophisticated, contemporary look that works well with a variety of color palettes. Brushed brass provides warmth and a touch of luxury, complementing both modern and traditional spaces. Stainless steel remains a classic choice for its durability and versatility.
Shape-wise, sleek bar pulls are still incredibly popular, especially in longer lengths for a more substantial feel. Geometric designs are gaining traction, adding a subtle artistic touch. We’re also seeing an increase in integrated handles – those that are part of the cabinet door or drawer front itself – creating a seamless, streamlined appearance. These trends align perfectly with the broader movement towards minimalist interiors and a focus on quality materials.
Tools you actually need
Before you start, let’s make sure you have everything you need. A successful cabinet pull installation comes down to preparation. You’ll need a Phillips head screwdriver, and potentially a flathead depending on your existing hardware. A drill is essential, along with a set of drill bits suitable for wood.
You need a measuring tape and a sharp pencil. While some people suggest a stud finder, you don't need one for standard cabinet doors—the wood of the door itself provides the support. Wear safety glasses because wood shards from drilling are unpredictable.
- Phillips and flathead screwdrivers
- Drill with wood drill bits
- Measuring tape
- Pencil
- Stud finder (optional)
- New cabinet pulls
- Screws (usually included with pulls)
- Safety glasses
Measuring and marking
Measure your door thickness before buying screws. Most standard cabinets are 3/4-inch thick, meaning you need a 1-inch screw to pass through the wood and into the pull. If the screw is too short, the handle will wobble within a week. If it's too long, you'll have a sharp point sticking out inside your drawer.
Next, mark the screw hole locations. This is where a template comes in handy – and we’ll provide those downloads shortly. Align the template with the desired pull position, ensuring it's centered (especially important on wider doors and drawers). Use a pencil to carefully mark the screw holes. A common mistake is not centering the pull, so double-check your measurements before marking.
Consider the overall aesthetic. Are you aiming for symmetrical balance? Are there existing features that need to be considered? A little planning upfront can save you a lot of frustration later. Remember that standard hole spacings are often 3-inch, 5-inch, or 6-inch centers, but always verify before drilling.
Removing old hardware
Removing the old hardware should be straightforward, but sometimes screws are stubborn. Start by identifying the screw type – flathead or Phillips are the most common. Apply firm, steady pressure while turning the screwdriver. If a screw is stripped, don’t force it. Try placing a rubber band between the screwdriver and the screw head for added grip.
For severely stripped screws, a screw extractor might be necessary. These tools are designed to grip the damaged screw and allow you to remove it. Once the old pulls are removed, take a moment to clean the area with a damp cloth. This removes dust and debris, providing a clean surface for the new hardware. It's a small step, but it makes a difference.
Drilling and installation
Drilling pilot holes is crucial to prevent splitting the wood, especially with hardwoods. Choose a drill bit slightly smaller in diameter than the screw itself. The goal is to create a guide for the screw, not to drill a full-size hole. Different wood types require different approaches. Softer woods like pine need smaller pilot holes than hardwoods like oak or maple.
Drill slowly and steadily, applying even pressure. Once the pilot holes are drilled, it’s time to install the new screws. Start by hand-tightening the screws to ensure they’re aligned correctly. Then, use the screwdriver to tighten them further, but be careful not to overtighten. Overtightening can strip the screw holes or damage the cabinet.
If a screw does strip the hole, don’t panic. You can try filling the hole with toothpicks and wood glue, letting it dry completely, and then re-drilling a pilot hole. This provides a new, solid base for the screw. Another option is to use longer screws, but make sure they don’t protrude through the other side of the cabinet.
Fixing common mistakes
Sometimes, things don’t go according to plan. If screws won’t tighten, double-check that the pilot holes are the correct size and that you’re using the appropriate screws. If pulls wobble, it’s likely the screws aren’t tight enough or the pilot holes are too large. Try using slightly larger screws or filling the holes with wood glue and toothpicks before re-installing.
Misaligned pilot holes are a common issue. Carefully measure and mark the hole locations before drilling, and use a template to ensure accuracy. If the finish on your pulls scratches easily, consider using a protective coating or choosing a more durable finish. Older cabinets can present unique challenges, as the wood may be warped or damaged. In these cases, you may need to reinforce the wood or use specialized screws.
Quick style reference
Choosing the right cabinet pull style is essential for achieving the desired aesthetic. Bar pulls are a versatile option that works well in modern and transitional kitchens. Knobs are a classic choice for Shaker-style cabinets and offer a more traditional look. Edge pulls are ideal for frameless cabinets, providing a sleek and minimalist appearance.
Cup pulls are often used on drawers in farmhouse-style kitchens, adding a touch of vintage charm. Consider the size and shape of your cabinets when selecting pulls. Larger cabinets can handle longer pulls, while smaller cabinets may look better with smaller pulls. For more detailed information on specific pull styles and their applications, check out our other guides on the Pull Depot website.
- Bar pulls work best for modern or transitional kitchens.
- Knobs are the standard choice for Shaker-style cabinets.
- Edge pulls: Frameless cabinets, minimalist
- Cup pulls: Farmhouse, vintage
Modern Cabinet Pull Style Comparison - 2026
| Pull Style | Grip Comfort | Aesthetic Suitability | Typical Cabinet Use | Price Range |
|---|---|---|---|---|
| Bar Pulls | Generally excellent, especially longer lengths | Clean, contemporary, versatile – works with many decors | Kitchens, bathrooms, modern furniture | Moderate |
| Knurled Pulls | Good, textured surface provides secure grip | Industrial, tactile, adds visual interest | Kitchens, pantries, workshops | Moderate to High |
| Minimalist Bar Pulls (thin profile) | Acceptable, can be less comfortable for larger hands | Ultra-modern, sleek, understated | Contemporary kitchens, bathrooms | Moderate |
| Cup Pulls | Good, the cup shape naturally fits the hand | Traditional, farmhouse, transitional – offers a classic look | Kitchens, furniture, often used on drawers | Moderate to High |
| Edge Pulls | Can be awkward if hands are large; designed for a single-finger pull | Modern, minimalist, often used for a streamlined look | Cabinets with inset doors, modern bathrooms | Low to Moderate |
| Arch Pulls | Good, curved shape provides a comfortable grip | Traditional, elegant, adds a touch of sophistication | Kitchens, bathrooms, furniture | Moderate to High |
| Novelty Pulls (geometric shapes, etc.) | Varies greatly depending on the design | Can be a statement piece, best suited for specific styles | Accent cabinets, children's rooms, unique spaces | Moderate to Very High |
Illustrative comparison based on the article research brief. Verify current pricing, limits, and product details in the official docs before relying on it.

No comments yet. Be the first to share your thoughts!